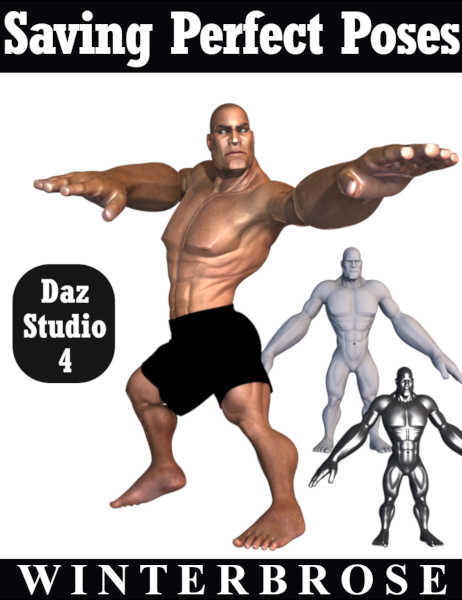
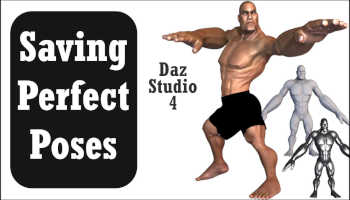
SAVING PERFECT POSES in Daz Studio to Sell or Share
Copyright (c) 2018-2020, Winterbrose Arts & Graphics. All
Rights Reserved.
This training will teach you how to successfully prepare your poses for distribution.
PDF eBook
Purchasing the PDF helps support creation of other tutorials like this.{coming soon}
You've worked hard for many hours to achieve that perfect pose. How many times have you forgotten the simplest of steps
necessary to prepare your product for distribution? It can be so
embarrassing when you overlook the simplest thing and your product does
not pass a vendor's quality testing phase one or more times. Or even
worse, how about when customers report problems with a pose that should
have been found before sharing it. Creating a really good set of poses
is time intensive enough without spending days trying to correct the
source of a problem that you just simply cannot find. This training can
save you countless hours of frustration by showing you how to test your
poses before distribution. This training does not teach how to create
the poses, but demonstrates
how to properly save those poses you have created to avoid problems
when they are used. The techniques in this training are demonstrated on
Genesis 8 figures, but can be applied to poses for almost any other
figure or character designed for Daz Studio 4+.
Now
in just over one-hour of videos available for free (total running time
66 minutes), you will learn how to properly save that perfect pose so
that you can sell or share it. For those of you who prefer reading, you
can read it all online here. If you need a reference guide for
offline or on the go, please consider purchasing the reasonably priced
PDF version of this training.
Topics covered include:
Module 01 - Pose Creation and Preparation
Module 02 - Thumbnail and Initial Testing Scene
Module 03 - Comprehensive Testing Scene
Module 04 - Final Pose Adjustments
Module 05 - Final Testing for Distribution
Module 06 - Alternate Methods/Advanced Concepts
You
can watch each video separately below by clicking the appropraite
module image, or you can click this image to see the entire YouTube Playlist:
********
* NOTICE *
********
This
document is an overview of the material covered in the video portion of
this training and is not intended to be used as the sole resource for
this training. It has been developed to supplement the video
portion of the training.
===========================================
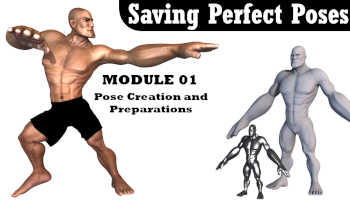
MODULE 01 Pose Creation and Preparation
===========================================
At this point, you should have already created that perfect pose and saved it as a scene file.
01. Load the scene with the figure with applied pose.
02. Select the figure in the Scene tab.
03.
If this is not an aerial pose, use Edit / Figure / Move To Floor (or
Ctrl-D) to set figure on floor. {see Module-06-01 for the
preferred advanced technique}
04. Use File / Save As / Pose Preset to capture your work as a pose.
- Browse to file location. Be sure to and save it to a location
that is suitable for the figure. Poses should be saved in their own
folder/directory which can be located either in the My Daz 3D Library
folder, or in the Poses folder below the figure/characters folder.
- Filename should reflect this as initial or testing pose
For Example: Genesis8Male-Swinging-INITIAL.duf or Genesis8Male-Swinging-TEST.duf
- Select Current Frame Only
- Be sure that the Figure/Character entry is checked
- Check the Compress File block (or not if you want to review duf)
- Click the Accept button
===========================================
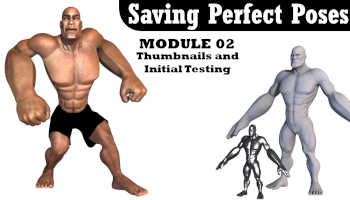
MODULE 02 Thumbnail and Initial Testing Scene
===========================================
The
thumbnail for your pose should represent how the figure should be
composed to properly use your new pose. If your pose includes
clothing or accessories, then the thumbnail should also show those
items.
01. Start a New Scene.
02. Load Genesis 8 Figure or Character.
If you or your vendor/broker does not want monochrome (colorless) thumbnails, you can skip steps 03-07.
03. Select figure/character in Scene tab.
04. Select figure/character in Surfaces tab.
05. First, let’s remove the Diffuse texture. In Base Color, click the left-most block and chose None from popup.
06.
Now remove the Diffuse color. In Base Color, click the RGB color
bar and change the color to light gray (192, 192, 192).
07. In the Glossy Color block, click the RGB color bar and change the color to black (0, 0, 0).
If
the pose was developed for a naked or bare figure, then nothing else
should be shown in the thumbnail and you can skip step 08.
08. Load and Parent any other items needed for thumbs and testing.
We will need a ground plane to ensure proper elevation of our pose when applied to figures and characters it is designed for.
09. Use Create / New Primitive and use these settings for popup:
- Plane
- World Center
- Y Positive
- Size 10
- Divisions 1
10. Select plane in Scene tab.
11. Select plane in Parameters tab.
12. Change Z Scale to 20%.
13. Save scene using File / Save As / Scene and filename like this:
- Begin and end with hyphen or underscore
- Include the figure/character name
- Include the text "Adjustment-Test-with-Plane"
For example: _Genesis8Male-Adjustment-Test-with-Plane_.duf
===========================================
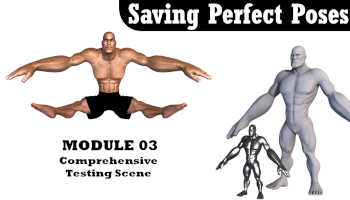
MODULE 03 Comprehensive Testing Scene
===========================================
During
the comprehensive testing, your pose should not affect scale or X/Z
location of applicable figure/character. The Y location can be used as
desired to raise, lower, or set on floor.
01. Load the initial testing scene (created in Module-02).
02. Select primary figure/character in Scene tab.
03. Duplicate the test figure using Edit / Duplicate / Duplicate Nodes.
04. Move original figure/character left and back.
- The left/back moves can be about 1/2 size of the node.
05. Move duplicate figure/character right and forward.
- The right/forward moves can be about 1/2 size of the node.
06. Scale duplicate figure/character down to 70% in size.
07. Save scene using File / Save As / Scene and filename like this:
- Begin and end with hyphen or underscore
- Include the figure/character name
- Include the text "Final-Testing-with-2-Figures"
For example: _Genesis8Male-Final-Testing-with-2-Figures_.duf
===========================================
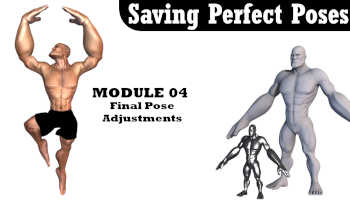
MODULE 04 Final Pose Adjustments
===========================================
01. Load initial testing scene (from Module 02).
02. Select Root node of figure/character in Scene tab.
03. Apply your pose.
IMPORTANT
!!! Transforms must be on HIP and not ROOT node !!!
04. Review and correct Transforms
a. Select Root node of figure/character.
b. All Translate and Rotate dials should be "0.00".
c. If any value other than zero (0.00) is found, it must be moved
to Hip or combined with Hip value (added to) if one exists.
- Move Rotation values before moving Translation values
- Move any non-zero X/Y/Z Rotate values from Root to Hip
- Move any non-zero X/Z Translate values from Root to Hip
- If figure/character is above or below floor plane, do this first:
-- Select Root node, use Edit / Figure / Move To Floor
-- Move non-zero Y Translate value from Root to Hip
****************************************************************
How to move Transform values from Root to Hip
- - - - - - - - - - - - - - - - - - - - - - - - - - - - - - - - - - - - - - - - - - - - - - - - - - - - - - -
(1) Select Root node and then select transform value
(2) Capture/Cut/Copy it and replace it with zero (0)
(3) Select Hip node
(4) Paste value into corresponding transform dial
****************************************************************
****************************************************************
How to combine Transform values from Root and Hip
- - - - - - - - - - - - - - - - - - - - - - - - - - - - - - - - - - - - - - - - - - - - - - - - - - - - - - -
(1) Select Root node and capture transform value.
(2) Select Hip node and capture transform value.
(3) Add two values together to get sum.
Working with negatives can sometimes get
confusing so use a calculator if necessary.
(4) Select Root node and replace transform value with zero.
(5) Select Hip node and replace transform value with sum.
****************************************************************
05. Review and correct overlapping/intersecting body parts.
06. Select the Plane in the Scene tab and hide it.
07. Render Settings:
- Select root figure/character in Scene tab
- Make viewport square
(render size should have matching width and height values)
- Show aspect frame
- Frame View of Figure/Character in Scene
- Zoom in/out to fill
08. If desired, use File / Save As / Scene to capture your final pose.
Saving Your Final Pose
09. On the main menu, select File / Save As / Pose Preset.
A. Browse to save location and use these DAZ pose naming conventions:
- Pose name(s) should begin with abbreviated or full pose set name.
- Next should be the pose name or number; if you are numbering poses,
preceed pose numbers 1-9 with a zero (ie 01, 02)
- End pose name with the figure/character name it is designed for.
B. Pose Preset Save Options (popup menu)
(1) Uncheck Genesis 8 Figure or Character
(2) Right-click panel or use small menu button and select:
Check Only / Check All Rotations Only
(3) Expand Genesis 8 Figure or Character
-- Expand Hip
--- Expand General
---- Expand Transforms
----- Expand Translation
Check Y Translate
--- Collapse General
--- Expand Abdomen Lower all the way to Head
---- Expand Head
Uncheck All except General
--- Collapse Abdomen Lower
-- Collapse Hip
-- Uncheck General {except for Scene specific transforms}
You may have to click it twice (double-click) to turn it off
-- Uncheck Hidden
If it is already unchecked, nothing to do here
-- Check Pose Controls
--- Expand Pose Controls
---- Uncheck Feet (in rare instances)
---- Uncheck Head (unless your pose includes expressions)
(4) Check or uncheck Compress File as desired.
(5) Click Accept button.
===========================================
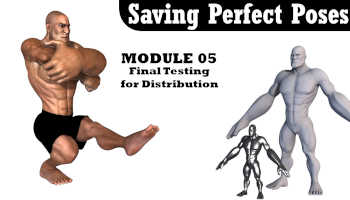
MODULE 05 Final Testing for Distribution
===========================================
01. Load final test scene.
02. Apply pose to both figure/character nodes. {see Module 06-04 for speedup}
03. Check for no scaling of figures.
04. Check for proper placement of figures.
- Figure/character in same X/Z location
- Figure/character setting on floor (ground plane) or elevated by design
05. Double-check for proper pose design.
- Ensure there are no overlapping body parts
-- legs or arms too close with overlapping mesh
-- fingers poking into hand for fists
06.
If further adjustments are required, revisit whatever previous step
applies, and continue test/adjust as needed until you have an awesome
final pose preset.
===========================================
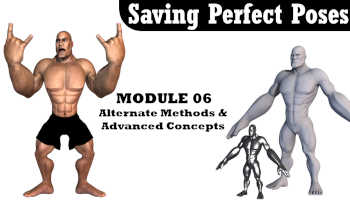
MODULE 06 Alternate Methods & Advanced Concepts
===========================================
01. SETTING FIGURE ON FLOOR:
Using the shortcut key Ctrl-D or Mac equivalent is a good start, but
for more precise control of the figures placement be sure to select the
Hip and use the Y Translate control slider to raise/lower the
figure. Be sure to watch the floor plane from beneath to see when
the figure is no longer protruding into the floor.
02. BAKED POSE CONTROL SETTINGS:
Once you have completed your perfect pose, you can use
the Bake to Transforms function to convert all of the pose control
changes to actual bone settings. To do this, on the main menu
select Edit / Figure / Bake To Transforms (or Shift-B) and use the
following settings then click Accept:
- Nodes = Root
- Propagation = Recursive
- Check Property Path and select Pose Controls
- Check Property Type and select Modifier/Pose
- In Transforms check ONLY the Rotation column
- Check Visible Sub-Components Only
03. FINAL POSE CONTROLS:
When choosing your Pose Preset Save Options, be sure that
you check all of the Pose Controls with the exception of Head which
should be unchecked. However, if you did use expressions that are
necessary to augment your pose, expand out the Head in Pose Controls
and check the Expressions line.
04. WORKFLOW SPEEDUP:
If you have many poses to test with the two-figure and plane setup, you
can increase your project workflow by selecting both the normal and
scaled-down figures and applying the pose simultaneously to both.
However, if you still have pose issues to correct, you may need to
apply it individually to each for closer review.
05. FULLY RENDERED THUMBNAILS:
If you properly save your perfect pose, Daz Studio will use the OpenGL
engine to render your thumbnail. Even though thumbs are just
91x91 pixels (256x256 for tips), you may need a clearer image to
portray the figure, accessories, or both. If that is the case,
you will need to fully render your thumbnail using either Iray or
3Delight engine.
PDF eBook
Purchasing the PDF helps support creation of other tutorials like this.
{coming soon}
Best
viewed at
1024
x 768
or higher. |
 |
Thanks for Visiting
WINTERBROSE
Arts
& Graphics
|